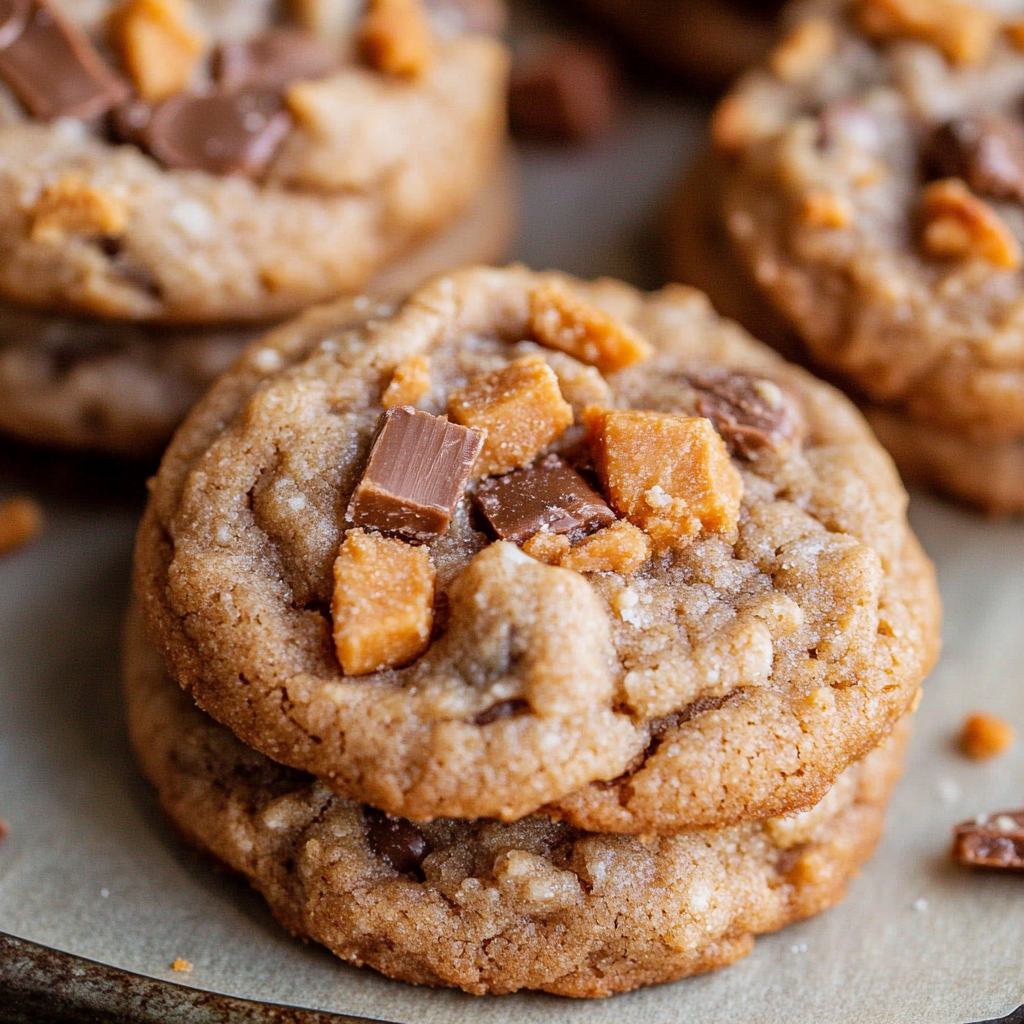
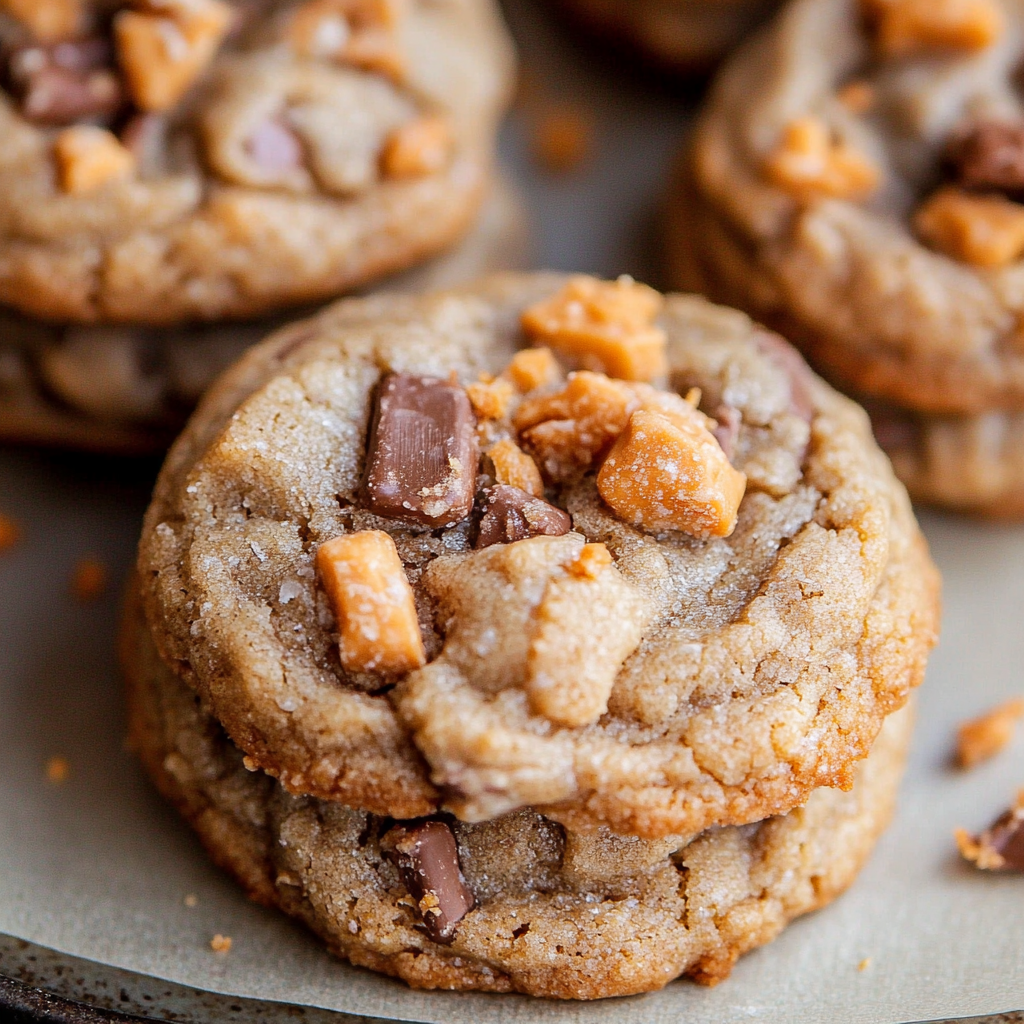
Peanut Butter Butterfinger Cookies
These Peanut Butter Butterfinger Cookies are a game changer for cookie lovers! With their soft, thick texture and delightful crunch from the Butterfinger bits, they’re perfect for any occasion. Whether for a bake sale, family gathering, or a cozy night in, these cookies will satisfy your sweet tooth and leave everyone asking for more.
Why You’ll Love This Recipe
- Easy to Make: This recipe is straightforward, making it perfect for bakers of all levels.
- Irresistible Flavor: The combination of peanut butter and Butterfinger bits creates an explosion of flavor in every bite.
- Versatile Treat: These cookies can be enjoyed warm, at room temperature, or even frozen for later enjoyment!
- Perfect for Sharing: With about 25 cookies in one batch, they make an excellent treat to share with friends and family.
- Adaptable Ingredients: You can easily customize this recipe by adding different candies or nuts based on your preferences.
Tools and Preparation
Before you start baking these delicious cookies, gather your tools. Having the right equipment will make the process easy and enjoyable!
Essential Tools and Equipment
- Stand mixer or large mixing bowl
- Measuring cups and spoons
- Baking sheets
- Parchment paper or silicone baking mat
- Cookie scoop (optional)
Importance of Each Tool
- Stand mixer or large mixing bowl: A stand mixer saves time and effort when beating ingredients together, ensuring a smooth batter.
- Measuring cups and spoons: Accurate measurements are crucial in baking to achieve the desired texture and flavor.
- Baking sheets: Quality baking sheets provide even heat distribution for perfectly baked cookies.
- Parchment paper or silicone baking mat: These prevent sticking and help with easier cleanup after baking.
Ingredients
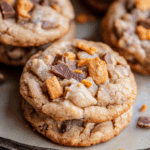
These Peanut Butter Butterfinger Cookies are unreal! I thought Peanut Butter Cookies couldn’t get any better…But then I added chopped up Butterfinger bits and my life changed forever! A delightfully soft and THICK peanut butter cookie with crispety, crunchety, peanut-buttery bits that make it taste like a peanut brittle cookie.
For the Cookies
- 3/4 cup butter (softened (1 and 1/2 sticks))
- 1/2 cup granulated sugar
- 1/2 cup brown sugar (packed)
- 1 cup peanut butter (don’t use natural pb)
- 1 large egg
- 1 & 1/2 teaspoons vanilla
- 1 & 1/2 cups all-purpose flour (spooned and leveled)
- 1/2 teaspoon baking soda
- 1/2 teaspoon baking powder
- 1/4 teaspoon kosher salt
- 16 ounces Butterfinger (chopped, see note*)
How to Make Peanut Butter Butterfinger Cookies
Step 1: Cream the Butter
In a large bowl or stand mixer, beat the softened butter until it is smooth and creamy. Scrape down the sides of the bowl to ensure everything is mixed well.
Step 2: Add Sugars
Add the granulated sugar and packed brown sugar. Beat well for about 2 minutes until fluffy. There should be no chunks of butter remaining.
Step 3: Incorporate Peanut Butter
Mix in the peanut butter until combined. Using a brand like Jif makes this step easier.
Step 4: Add Egg and Vanilla
Crack in one egg along with the vanilla. Beat until just combined, scraping down the sides as needed.
Step 5: Combine Dry Ingredients
Add the all-purpose flour to the bowl but don’t stir yet. Sprinkle on top the baking soda, baking powder, and kosher salt. Stir gently to combine dry ingredients without clumping.
Step 6: Mix Dough Together
Turn on the mixer to blend everything together. Stop mixing as soon as it starts to form a dough; you don’t want to overmix!
Step 7: Fold in Butterfinger Bits
Gently fold in the chopped Butterfinger pieces until just incorporated into the dough.
Step 8: Chill Dough
Cover the bowl with plastic wrap or a lid. Chill in the refrigerator for at least 15 minutes but up to 24 hours if you prefer.
Step 9: Preheat Oven
Preheat your oven to 350 degrees F while you prepare to shape your cookies.
Step 10: Shape Dough Balls
Using your hands or a cookie scoop, form dough into balls about 2 inches in diameter.
Step 11: Arrange on Baking Sheet
Place cookie balls on lined baking sheets at least an inch apart.
Step 12: Bake
Bake cookies at 350 degrees F for about 10 minutes. They should be puffy with slightly set edges.
Step 13: Indent with Spatula
If cookies haven’t spread much during baking, gently press them down with a spatula immediately after removing them from the oven.
Step 14: Cool on Pan
Let cookies set on the pan for at least 5 minutes before transferring them onto a wire rack to cool completely.
Step 15: Enjoy!
While some may enjoy them warm, waiting until they reach room temperature provides a better texture experience!
This recipe makes about 25 Peanut Butter Butterfinger Cookies. Store leftovers in an airtight container for up to three days. Happy baking!
How to Serve Peanut Butter Butterfinger Cookies
These Peanut Butter Butterfinger Cookies are a delightful treat that can be enjoyed in various ways. Whether you’re hosting a gathering or simply indulging yourself, here are some serving suggestions to enhance your experience.
With a Glass of Cold Milk
- A classic pairing that enhances the rich flavors of the cookies. The cold milk balances the sweetness and provides a refreshing contrast.
As Part of a Dessert Platter
- Arrange these cookies alongside other treats like brownies, mini cakes, or fruit. This creates an appealing dessert spread for parties or gatherings.
Warm with Ice Cream
- Serve warm cookies topped with a scoop of vanilla ice cream. The combination of warm and cold creates a deliciously indulgent dessert.
Crumbled on Top of Yogurt
- Add chopped cookies as a topping for yogurt. This adds crunch and flavor to your yogurt bowl, making it a fun and tasty breakfast or snack option.
With Fresh Fruit
- Pair these cookies with fresh berries or sliced bananas for a sweet and nutritious twist. The freshness of the fruit complements the richness of the cookies.
How to Perfect Peanut Butter Butterfinger Cookies
To ensure your Peanut Butter Butterfinger Cookies turn out perfectly every time, consider these helpful tips:
- Use room temperature ingredients: Allow butter and eggs to sit out for about 30 minutes before mixing. This helps create a smoother dough.
- Don’t overmix the dough: Overmixing can lead to tough cookies. Mix just until combined to keep them soft and chewy.
- Chill the dough: Refrigerate the cookie dough before baking. This helps prevent excessive spreading and enhances the flavors.
- Measure flour accurately: Spoon flour into your measuring cup instead of scooping directly from the bag. This prevents adding too much flour, which can make cookies dry.
- Adjust baking time: Keep an eye on your cookies while they bake. Take them out when they’re slightly puffy but not shiny in the middle for perfect texture.
Best Side Dishes for Peanut Butter Butterfinger Cookies
Pairing these delicious cookies with complementary side dishes can elevate your dessert experience. Here are some fantastic options:
- Fruit Salad
A refreshing mix of seasonal fruits adds brightness and balances out the sweetness of the cookies. - Chocolate Milkshake
A rich chocolate milkshake pairs perfectly with peanut butter flavors, creating a decadent treat. - Cheese Platter
Include mild cheeses like brie or cream cheese on a platter. The creaminess contrasts nicely with cookie textures. - Sliced Apples with Caramel Dip
Sweet apples dipped in caramel complement the richness of peanut butter while adding crunch. - Whipped Cream Dip
Serve whipped cream flavored with vanilla on the side for dipping, enhancing each bite of cookie decadence. - Coffee or Espresso
A warm cup of coffee or espresso offers a sophisticated pairing, balancing sweetness with bitter notes that enhance flavor profiles.
Common Mistakes to Avoid
Making Peanut Butter Butterfinger Cookies is easy, but a few common mistakes can lead to less-than-perfect results.
- Not measuring ingredients properly: Use proper measuring cups and spoons to ensure accuracy. Too much or too little flour can affect the cookie’s texture.
- Overmixing the dough: After adding the dry ingredients, mix just until combined. Overmixing leads to tough cookies instead of soft and chewy ones.
- Skipping the chilling step: Chilling the dough helps improve flavor and texture. Don’t skip this step if you want thick cookies!
- Not using enough Butterfinger bits: Ensure you add enough chopped Butterfinger to enhance the flavor. Aim for 16 ounces for maximum crunch and taste.
- Baking at the wrong temperature: Make sure your oven is preheated to 350°F before baking. An incorrect temperature can lead to cookies that are underbaked or burnt.
Storage & Reheating Instructions
Refrigerator Storage
- Store in an airtight container for up to 3 days.
- Keep cookies separated with parchment paper to prevent sticking.
Freezing Peanut Butter Butterfinger Cookies
- Freeze cookie dough balls in a ziplock bag for up to 3 months.
- Baked cookies can be frozen in a sealed container for up to 4 weeks.
Reheating Peanut Butter Butterfinger Cookies
- Oven: Preheat to 350°F, then warm cookies for about 5 minutes.
- Microwave: Heat individual cookies on medium power for about 10-15 seconds.
- Stovetop: Place cookies in a skillet over low heat for a couple of minutes, just until warmed through.
Frequently Asked Questions
Here are some common questions about making Peanut Butter Butterfinger Cookies.
How do I make gluten-free Peanut Butter Butterfinger Cookies?
To make these cookies gluten-free, substitute all-purpose flour with a gluten-free flour blend.
What can I use instead of Butterfingers?
You can replace Butterfingers with other chocolate-covered candies or even chopped nuts for a different flavor profile.
Can I use natural peanut butter?
It’s best not to use natural peanut butter as it has different oil content, which affects the cookie’s consistency. Stick with standard peanut butter brands.
How long do these cookies last?
Peanut Butter Butterfinger Cookies last up to 3 days at room temperature or longer if frozen.
Can I freeze the cookie dough?
Yes! The dough freezes well and can be stored for up to 3 months. Simply thaw it in the refrigerator before baking.
Final Thoughts
Peanut Butter Butterfinger Cookies are a delightful treat that combines creamy peanut butter with crunchy candy bits. Their soft texture and rich flavor make them perfect for any occasion. Feel free to customize your batch by adding different types of candy or nuts according to your preference!
Peanut Butter Butterfinger Cookies
Indulge in the delightful combination of creamy peanut butter and crunchy Butterfinger bits with these Peanut Butter Butterfinger Cookies. Perfectly soft and thick, each cookie offers an irresistible flavor explosion that will satisfy your sweet tooth. Ideal for any occasion, whether it’s a family gathering, bake sale, or simply enjoying a cozy night at home, these cookies are sure to be a hit! With a straightforward recipe, you can whip up a batch of approximately 25 treats that are perfect for sharing. Customize them by adding your favorite candies or nuts for an extra twist!
- Prep Time: 20 minutes
- Cook Time: 10 minutes
- Total Time: 30 minutes
- Yield: Approximately 25 cookies 1x
- Category: Desserts
- Method: Baking
- Cuisine: American
Ingredients
- 3/4 cup softened butter
- 1/2 cup granulated sugar
- 1/2 cup packed brown sugar
- 1 cup peanut butter (avoid natural)
- 1 large egg
- 1 and 1/2 teaspoons vanilla extract
- 1 and 1/2 cups all-purpose flour
- 1/2 teaspoon baking soda
- 1/2 teaspoon baking powder
- 1/4 teaspoon kosher salt
- 16 ounces chopped Butterfinger
Instructions
- Cream softened butter until smooth.
- Add granulated and brown sugars, mixing until fluffy.
- Incorporate peanut butter, egg, and vanilla extract.
- Combine dry ingredients in a separate bowl; mix into wet ingredients.
- Gently fold in chopped Butterfinger bits.
- Chill dough for at least 15 minutes.
- Preheat oven to 350°F.
- Form dough into balls and place on lined baking sheets.
- Bake for about 10 minutes until edges are set.
- Cool on pan before transferring to wire rack.
Nutrition
- Serving Size: 1 cookie (30g)
- Calories: 150
- Sugar: 10g
- Sodium: 100mg
- Fat: 8g
- Saturated Fat: 4g
- Unsaturated Fat: 4g
- Trans Fat: 0g
- Carbohydrates: 18g
- Fiber: <1g
- Protein: 3g
- Cholesterol: <5mg