Wild Forest Classic Dirt Pudding Cake
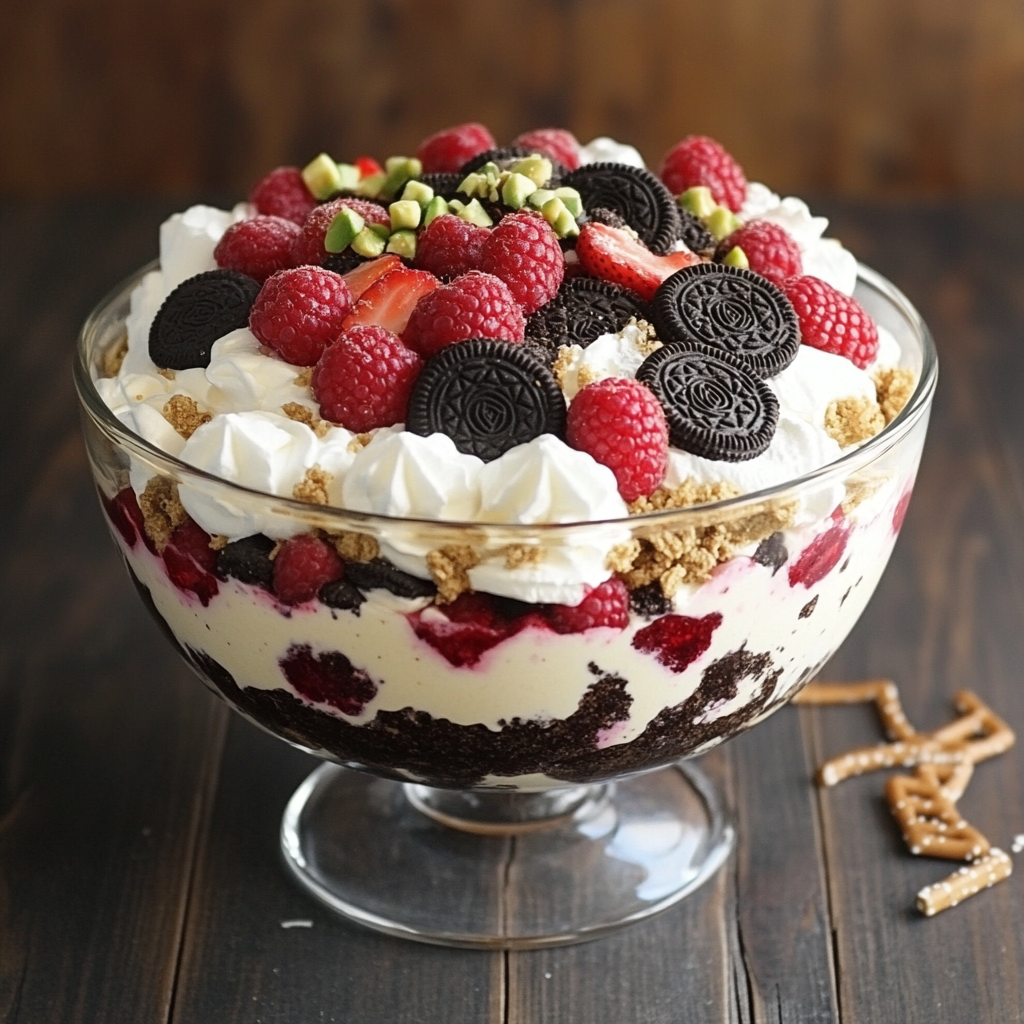
Wild Forest Classic Dirt Pudding Cake is a delightful dessert that captures the whimsy of childhood while offering rich, creamy flavors. This cake is perfect for any gathering, whether it’s a birthday party, family reunion, or simply a cozy night in. What sets this pudding cake apart is its unique presentation and the blend of textures—from crunchy Oreos to fluffy cream. Dive into this chocolatey goodness that’s sure to impress both kids and adults alike!
Why You’ll Love This Recipe
- Easy Preparation: With simple ingredients and straightforward steps, this cake comes together quickly, making it ideal for last-minute gatherings.
- Crowd-Pleaser: The combination of chocolatey Oreos and creamy pudding is always a favorite among guests.
- Customizable: Feel free to add your favorite toppings or fruits to make it uniquely yours.
- Visually Stunning: The layered look resembles a garden filled with dirt and moss, making it an attractive centerpiece for any dessert table.
- Versatile Serving Options: Serve it in different dishes—trifle bowls, jars, or classic cake pans—for varied presentations.
Tools and Preparation
To create your Wild Forest Classic Dirt Pudding Cake, having the right tools makes all the difference. Here’s what you’ll need:
Essential Tools and Equipment
- Food processor or rolling pin
- Large mixing bowls
- Hand mixer or stand mixer with whisk attachment
- Rubber spatula
- Serving dish (trifle dish, 9×13 dish, or smaller mugs)
Importance of Each Tool
- Food Processor: Quickly crushes Oreos for that signature crumb texture without much effort.
- Stand Mixer: Ensures that your cream cheese and whipped cream are mixed perfectly for a smooth filling.
- Rubber Spatula: Ideal for folding in ingredients gently without deflating the whipped cream.
Ingredients
For the Base
- 14 oz package of Oreos
- 3 & 1/2 cups cold whole milk
- 2 (3.4 oz) boxes French vanilla pudding (or plain vanilla/chocolate)
For the Cream Filling
- 8 oz cream cheese (softened)
- 1 cup heavy whipping cream (or Cool Whip)
- 3/4 cup powdered sugar
- 1 tsp vanilla extract (or vanilla bean)
For Toppings
- 1 lb fresh strawberries
- 1/4-1/2 cup fresh raspberries
- Pretzel sticks
- Mini vegan marshmallows
- 4-6 oz white chocolate
- 2 tsp coconut oil (for melting)
- Crushed pistachios for moss
How to Make Wild Forest Classic Dirt Pudding Cake
Step 1: Make the Pudding & Crush Oreos
- Whisk the milk and instant pudding mix together in a large bowl. Set aside to thicken.
- Crush the Oreos using a food processor until they reach a coarse crumb consistency. Alternatively, place them in a ziplock bag and crush with a rolling pin.
Step 2: Make the Whipped Cream
- In a separate large bowl, use a hand mixer or stand mixer with the whisk attachment to whip heavy cream until soft peaks form.
- Fold in the vanilla extract gently and set aside.
Step 3: Whip Cream Cheese & Finish Pudding
- In the bowl of your stand mixer, beat softened cream cheese until creamy.
- Add powdered sugar and mix until smooth.
- Incorporate the thickened vanilla pudding into the cream cheese mixture on medium speed until fully combined.
- Gently fold in the whipped cream using a rubber spatula until blended.
Step 4: Assemble Dirt Cake
- Choose your serving dish—an 8 or 9-inch circle dish, 9×13 dish, trifle dish, or smaller mugs work well.
- Start by adding one layer of crushed Oreos at the bottom.
- Spoon in some of your creamy filling mixture over the Oreos.
- Repeat layering with more Oreos followed by more filling until you reach the top of your container.
- Finish off with any remaining crushed Oreos as the final layer.
Enjoy your Wild Forest Classic Dirt Pudding Cake as a delicious treat that will bring smiles all around!
How to Serve Wild Forest Classic Dirt Pudding Cake
Wild Forest Classic Dirt Pudding Cake is a delightful dessert that can be enjoyed in various ways. Whether you’re hosting a party or having a cozy family gathering, these serving suggestions will enhance the experience.
Individual Cups
- Use small cups or jars to serve individual portions of the dirt pudding. This makes it easy for guests to grab their own serving and adds a fun touch.
Garnished with Fresh Fruit
- Top each serving with fresh strawberries and raspberries for a burst of color and flavor. The berries complement the creamy texture of the pudding beautifully.
Crushed Toppings
- Sprinkle crushed pistachios or mini vegan marshmallows on top for added crunch and a whimsical look. These toppings enhance both presentation and taste.
Pretzel Sticks as Scoops
- Serve pretzel sticks alongside the cake for dipping. This salty element contrasts well with the sweetness of the dessert, creating an exciting flavor balance.
Themed Decorations
- Decorate the serving area with nature-themed decorations, like small potted plants or edible flowers. This enhances the forest theme and creates an inviting atmosphere.
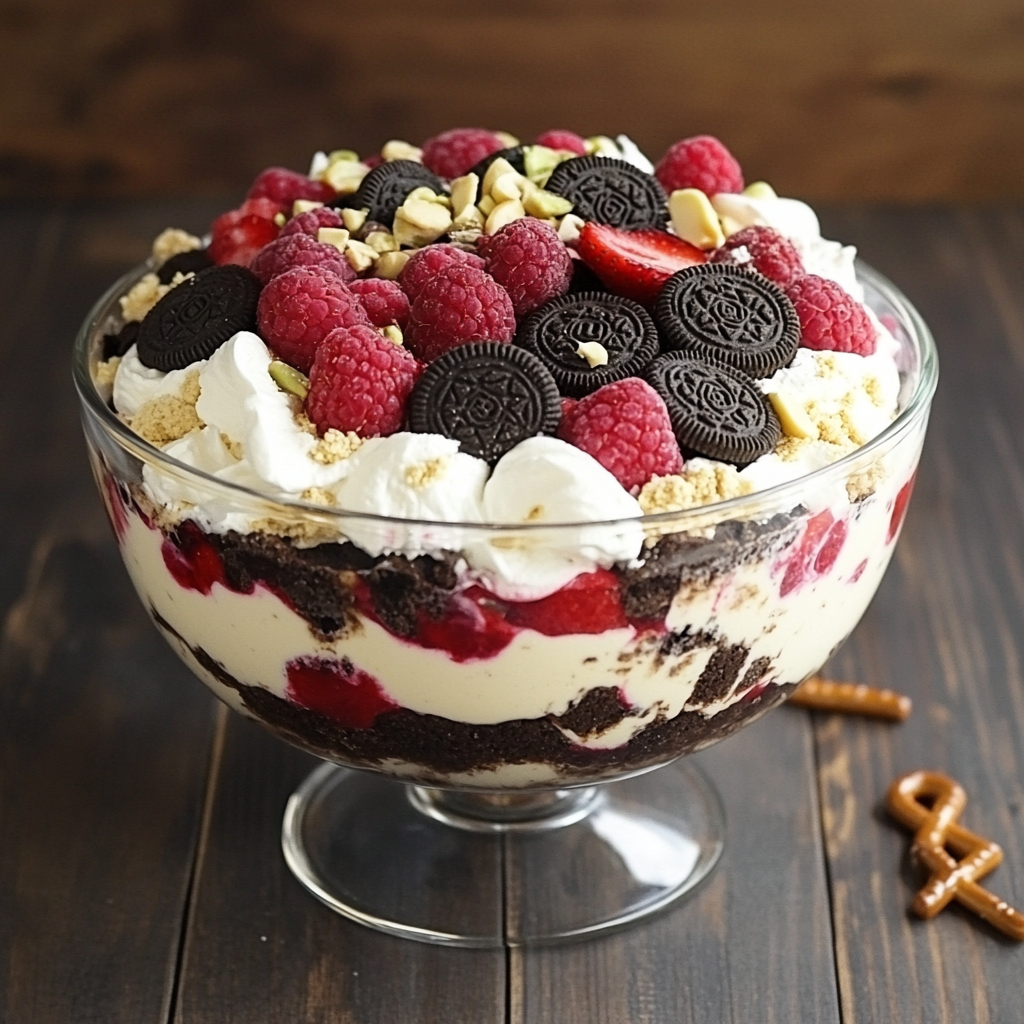
Layered Trifle Style
- For a stunning centerpiece, layer the ingredients in a trifle bowl. Showcasing the layers of cream, oreos, and fruit makes for an impressive visual display.
How to Perfect Wild Forest Classic Dirt Pudding Cake
Creating the perfect Wild Forest Classic Dirt Pudding Cake involves attention to detail. Here are some tips to ensure your dessert is a hit.
- Use Cold Ingredients: Ensure your milk and cream cheese are cold before starting. This helps achieve a better texture in your whipped cream and pudding.
- Mix Gently: When folding in whipped cream, do so gently to maintain its airy texture. This results in a light and fluffy pudding mix.
- Chill Before Serving: Allow your cake to chill in the fridge for at least 2 hours before serving. This helps all flavors meld together perfectly.
- Experiment with Flavors: Feel free to try different flavored puddings, like chocolate or butterscotch, for a unique twist on this classic dessert.
Best Side Dishes for Wild Forest Classic Dirt Pudding Cake
Pairing side dishes with your Wild Forest Classic Dirt Pudding Cake can elevate your dessert experience. Here are some great options that complement its rich flavors.
- Fresh Fruit Salad
A refreshing mix of seasonal fruits adds brightness and balances out the sweetness of the cake. - Vanilla Ice Cream
Creamy vanilla ice cream is an excellent pairing that adds extra richness while contrasting with the cake’s texture. - Chocolate Chip Cookies
Soft chocolate chip cookies provide an extra treat that guests can enjoy alongside their pudding cake. - Cheesecake Bites
Mini cheesecake bites offer a different creamy flavor profile that pairs well without overwhelming the palate. - Nutty Granola Bars
Crunchy granola bars bring a wholesome element to your dessert table, giving guests something hearty yet sweet to enjoy. - Caramel Popcorn
Sweet caramel popcorn adds fun and texture, making it an enjoyable snacking option during dessert time. - Fruit Sorbet
A light fruit sorbet cleanses the palate between bites of rich dirt pudding cake, enhancing overall enjoyment.
Common Mistakes to Avoid
To ensure your Wild Forest Classic Dirt Pudding Cake turns out perfectly, avoid these common mistakes.
- Skipping the Pudding Thickening: Not allowing the pudding to thicken properly can result in a runny cake. Always let it set as instructed.
- Overmixing Cream Cheese: Overmixing can make the cream cheese too airy and affect the texture. Beat just until creamy and smooth.
- Using Warm Ingredients: Using warm milk or cream can cause the pudding to curdle. Ensure all dairy ingredients are cold.
- Insufficient Layering: Not layering the ingredients correctly can lead to uneven flavors. Alternate layers of Oreos and filling for the best taste.
- Ignoring Chill Time: Serving the cake immediately without chilling can compromise its flavor. Allow it to chill for at least an hour before serving.
Storage & Reheating Instructions
Refrigerator Storage
- Store in an airtight container for up to 3 days.
- Keep in the original dish covered with plastic wrap for easy access.
Freezing Wild Forest Classic Dirt Pudding Cake
- Freeze for up to 2 months in a freezer-safe container.
- Wrap tightly with plastic wrap, then aluminum foil for added protection.
Reheating Wild Forest Classic Dirt Pudding Cake
- Oven: Preheat oven to 350°F (175°C). Cover with foil and heat for about 10 minutes until warmed through.
- Microwave: Heat individual portions on medium power for 30 seconds. Adjust time as necessary.
- Stovetop: Place in a saucepan over low heat, stirring occasionally until warmed.
Frequently Asked Questions
If you have questions about the Wild Forest Classic Dirt Pudding Cake, here are some common inquiries answered.
Can I use different types of pudding?
Yes! You can substitute French vanilla pudding with plain vanilla or chocolate pudding based on your preference.
How do I make this cake vegan-friendly?
To make a vegan version, use plant-based cream cheese and whipped topping alternatives.
What toppings work best for Wild Forest Classic Dirt Pudding Cake?
Fresh fruit like strawberries and raspberries, along with crushed nuts or mini vegan marshmallows, add great texture and flavor.
How long does this cake last in the refrigerator?
The cake stays fresh in the refrigerator for up to 3 days when stored properly in an airtight container.
Can I customize this recipe?
Absolutely! You can add layers of different fruits or use alternative cookies for a unique twist on this classic dessert.
Final Thoughts
The Wild Forest Classic Dirt Pudding Cake is a delightful treat that combines rich flavors with fun textures. Its versatility allows customization with various toppings or layer options to suit your taste. Don’t hesitate to try this dessert; it’s sure to impress friends and family!
Wild Forest Classic Dirt Pudding Cake

Indulge in the delightful Wild Forest Classic Dirt Pudding Cake, a nostalgic dessert that brings together rich flavors and playful textures. This no-bake treat features layers of crushed Oreos, creamy vanilla pudding, and fluffy whipped cream, topped with vibrant fresh fruit and whimsical garnishes. Perfect for any occasion—from birthday parties to cozy family nights—this cake is not only visually stunning but also incredibly easy to customize. With its fun presentation resembling a lush garden, it’s bound to impress both kids and adults alike. Gather your friends and family for a slice of this unforgettable dessert experience!
- Prep Time: 20 minutes
- Cook Time: None
- Total Time: 0 hours
- Yield: Serves approximately 10 people 1x
- Category: Dessert
- Method: No-bake
- Cuisine: American
Ingredients
- 14 oz package of Oreos
- 3.5 cups cold whole milk
- 2 (3.4 oz) boxes French vanilla pudding
- 8 oz cream cheese (softened)
- 1 cup heavy whipping cream
- 3/4 cup powdered sugar
- 1 lb fresh strawberries
- 1/4–1/2 cup fresh raspberries
- Pretzel sticks
- Mini vegan marshmallows
- 4–6 oz white chocolate
- 2 tsp coconut oil (for melting)
- Crushed pistachios for ‘moss’
Instructions
- In a large bowl, whisk together cold milk and instant pudding mix; set aside to thicken.
- Crush Oreos in a food processor or ziplock bag until coarse crumbs form.
- Whip heavy cream in a separate bowl until soft peaks form; fold in vanilla extract.
- Beat softened cream cheese with powdered sugar until smooth; mix in thickened pudding until combined.
- Gently fold whipped cream into the mixture until blended.
- In your chosen serving dish, layer crushed Oreos at the bottom, followed by creamy filling; repeat layers, finishing with Oreos on top.
- Chill in the fridge for at least 2 hours before serving.
Nutrition
- Serving Size: 1 slice (152g)
- Calories: 321
- Sugar: 22g
- Sodium: 301mg
- Fat: 19g
- Saturated Fat: 10g
- Unsaturated Fat: 8g
- Trans Fat: 0g
- Carbohydrates: 34g
- Fiber: 2g
- Protein: 4g
- Cholesterol: 44mg