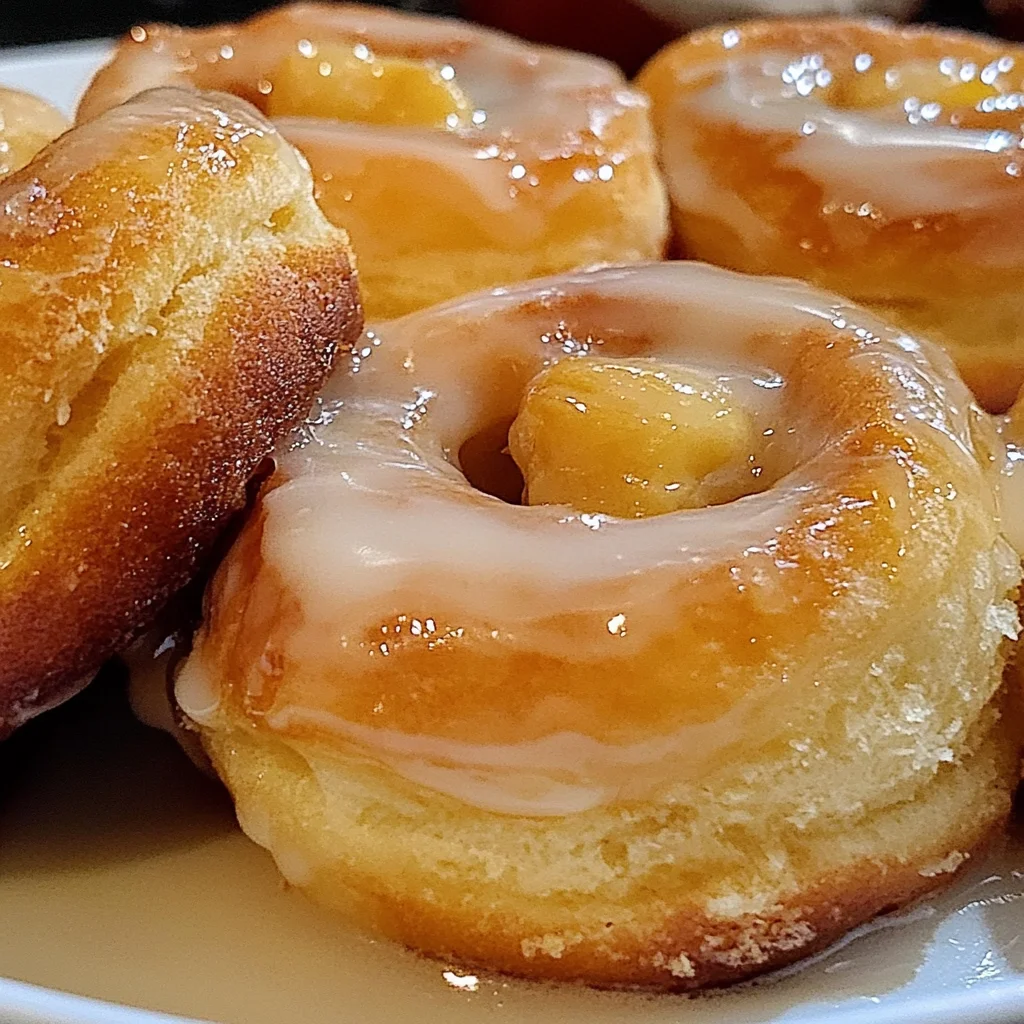
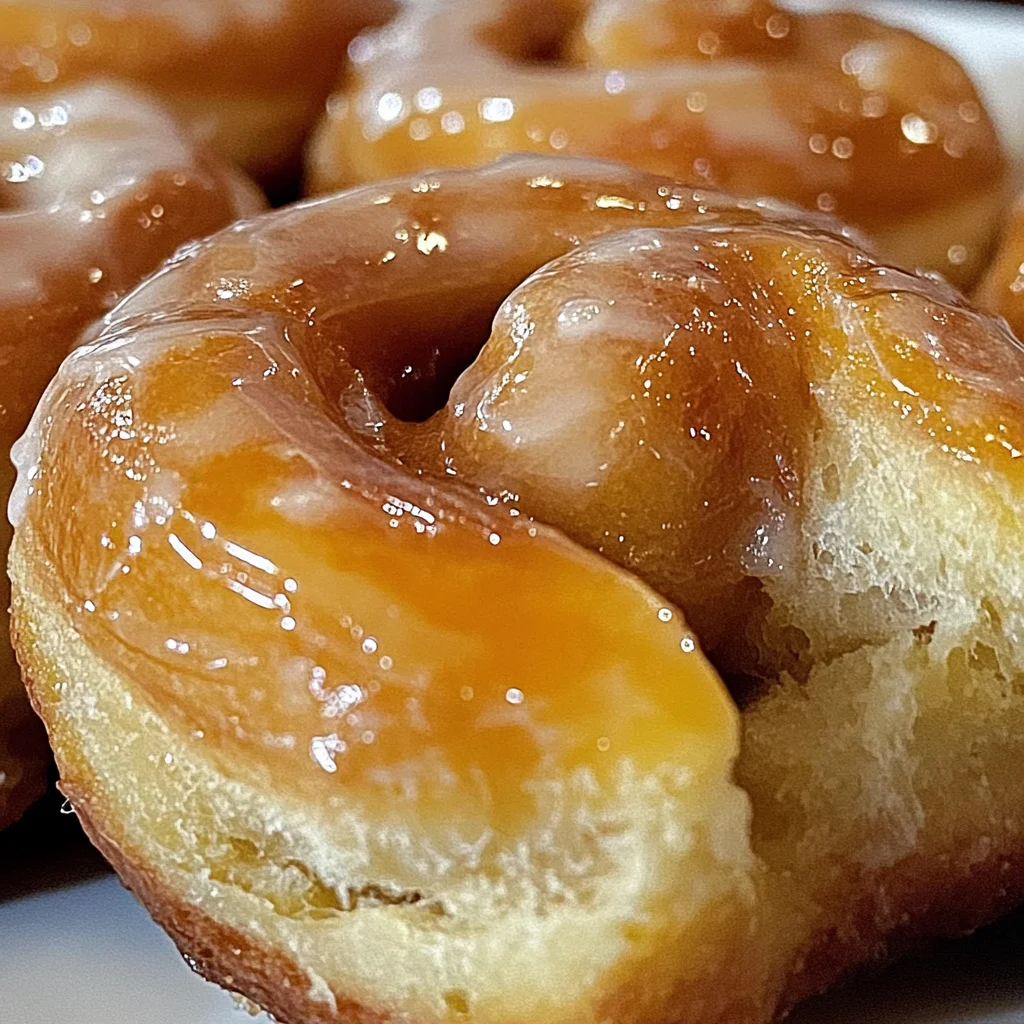
Homemade Honey Buns
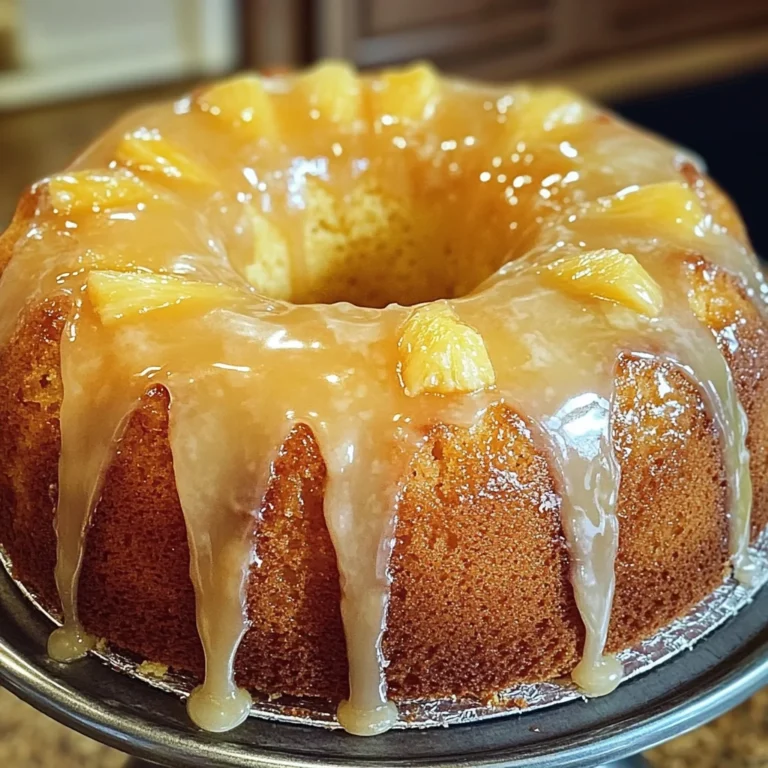
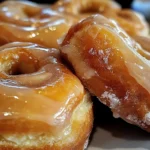
Homemade Honey Buns are the perfect treat for any occasion. With their soft and fluffy texture, these delightful pastries are drizzled with a sweet glaze that will remind you of your childhood. Whether served at breakfast, as a snack, or at a gathering, these buns are sure to please everyone. Their versatility and rich flavor make them a favorite that you can enjoy at any time.
Why You’ll Love This Recipe
- Easy to Make: This recipe is straightforward and beginner-friendly, making it perfect for anyone looking to whip up something sweet without hassle.
- Delicious Flavor: The combination of warm cinnamon and the sweetness of honey creates an irresistible taste that will have your family coming back for more.
- Perfect for Any Occasion: Whether it’s a holiday brunch or a casual afternoon snack, these homemade honey buns fit right in.
- Customizable Glaze Options: Feel free to experiment with different flavors in your glaze, from citrus to chocolate!
- Makes a Large Batch: With 14 servings, you’ll have plenty to share (or not!) with family and friends.
Tools and Preparation
Having the right tools can make all the difference in your baking experience. Here’s what you’ll need to create Homemade Honey Buns.
Essential Tools and Equipment
- Mixing bowls
- Measuring cups and spoons
- Rolling pin
- Baking sheet
- Cooling rack
Importance of Each Tool
- Mixing bowls: Essential for combining ingredients thoroughly and ensuring even mixing.
- Measuring cups and spoons: Accurate measurements are crucial in baking; these tools help achieve perfect results every time.
- Rolling pin: Ideal for rolling out dough to the right thickness, ensuring consistent cooking.
Ingredients
A favorite classic honey bun recipe with that famous glaze we all grew up loving.
For the Dough
- 2¼ cups all-purpose flour
- ¼ cup sugar
- ½ tsp salt
- ⅔ cup whole milk
- 1 packet instant yeast
- ⅓ cup butter, (melted, cooled)
- 1 large egg
- 2 tsp vanilla extract
For Frying
- 1½ tsp vegetable oil
- 2-2½ cups vegetable oil, (for frying)
For the Glaze
- 3 tbsp butter, (melted)
- 1¼ cup powdered sugar, (sifted)
- 2 tbsp milk
- 2 tsp honey
- ½ tsp vanilla extract
How to Make Homemade Honey Buns
Step 1: Prepare the Dough
- In a large mixing bowl, combine 2¼ cups all-purpose flour, ¼ cup sugar, and ½ tsp salt.
- In another bowl, warm ⅔ cup whole milk until lukewarm. Add 1 packet instant yeast and let it sit for about 5 minutes until frothy.
- Mix the yeast mixture into the dry ingredients along with ⅓ cup melted butter, 1 large egg, and 2 tsp vanilla extract. Stir until combined.
- Knead the dough on a floured surface for about 5-7 minutes until smooth.
- Place the dough in an oiled bowl; cover it with a towel and let it rise in a warm spot for approximately 1 hour or until doubled in size.
Step 2: Shape the Buns
- Once risen, punch down the dough to release air bubbles. Roll it out into a rectangle about ½ inch thick.
- Brush with remaining melted butter (about 3 tbsp) and sprinkle with cinnamon (2 tsp).
- Roll the dough tightly into a log shape and cut into equal pieces (about 14).
- Arrange them on a baking sheet lined with parchment paper.
Step 3: Fry the Buns
- Heat vegetable oil (about 2-2½ cups) in a deep pan over medium heat.
- Once hot, carefully place each bun into the oil, frying until golden brown on both sides (about 3-4 minutes per side).
- Remove them from oil and place on a cooling rack.
Step 4: Prepare the Glaze
- In a mixing bowl, whisk together powdered sugar (1¼ cup), milk (2 tbsp), honey (2 tsp), and vanilla extract (½ tsp) until smooth.
Step 5: Glaze Your Buns
- Drizzle or dip each warm bun into the glaze before serving.
Enjoy your delicious Homemade Honey Buns!
How to Serve Homemade Honey Buns
Homemade honey buns are delightful on their own, but they can also be dressed up for a special occasion or enjoyed as part of a casual snack. Here are some creative serving suggestions to enhance your honey bun experience.
With Fresh Fruit
- Berries: Serve your honey buns with a mix of strawberries, blueberries, and raspberries for a refreshing contrast.
- Sliced Bananas: Layer banana slices on top for added sweetness and texture.
With Creamy Toppings
- Whipped Cream: A dollop of whipped cream adds lightness and a touch of elegance.
- Cream Cheese Frosting: Spread a hint of cream cheese frosting for a rich and tangy flavor.
As Part of a Breakfast Spread
- Breakfast Sandwich: Use honey buns as the base for a breakfast sandwich with scrambled eggs and cheese.
- French Toast Style: Dip honey buns in egg batter and cook them on the skillet for a sweet twist on French toast.
How to Perfect Homemade Honey Buns
Achieving the perfect homemade honey buns requires attention to detail and some handy tips. Follow these suggestions to ensure your buns turn out fluffy and delicious.
- Keep Ingredients at Room Temperature: Using room temperature ingredients helps create a better dough consistency.
- Knead Properly: Knead the dough until it’s smooth and elastic, which ensures good texture.
- Allow Sufficient Rising Time: Let the dough rise until it’s doubled in size; this is crucial for fluffy buns.
- Monitor Frying Temperature: Ensure your oil is at the right temperature (around 350°F) for even frying without greasiness.
- Glaze While Warm: Glazing your honey buns while they are still warm allows the glaze to soak in better.
Best Side Dishes for Homemade Honey Buns
Pairing side dishes with homemade honey buns can elevate your meal. Here are some tasty options that complement their sweetness beautifully.
- Fresh Fruit Salad: A colorful mix of seasonal fruits adds freshness and balances sweetness.
- Yogurt Parfait: Layer yogurt with granola and berries for a creamy, crunchy side.
- Vegetable Sticks with Dip: Crunchy carrots, cucumbers, and bell peppers with hummus provide a savory contrast.
- Cheese Platter: A selection of mild cheeses pairs nicely with the sweetness of honey buns.
- Leafy Green Salad: A simple salad with vinaigrette can cut through the richness of the honey buns.
- Smoothie Bowl: A refreshing smoothie bowl topped with nuts and seeds makes an excellent accompaniment.
Common Mistakes to Avoid
Making homemade honey buns can be fun, but a few common errors can lead to less-than-perfect results. Here are some mistakes to watch out for.
- Using stale ingredients: Always check the expiration dates on your yeast and baking powder. Fresh ingredients ensure the best rise and flavor.
- Not letting the dough rise enough: Allow the dough ample time to rise until it doubles in size. Skipping this step can result in dense buns.
- Overheating the oil: If you fry your honey buns in oil that’s too hot, they may burn on the outside while remaining raw inside. Use a thermometer to maintain the right frying temperature.
- Skipping the glaze: The glaze is what makes homemade honey buns special! Don’t skip adding it; it gives that classic sweetness we all love.
- Not measuring accurately: Baking is a science. Use precise measurements for flour, sugar, and liquids for consistent results.
- Frying in batches that are too large: Overcrowding the pan lowers the oil temperature and can lead to uneven cooking. Fry smaller batches for better results.
Storage & Reheating Instructions
Refrigerator Storage
- Store leftover honey buns in an airtight container.
- They will stay fresh for up to 3 days in the refrigerator.
Freezing Homemade Honey Buns
- Wrap each bun tightly in plastic wrap before placing them in a freezer-safe bag.
- Frozen honey buns can last up to 3 months.
Reheating Homemade Honey Buns
- Oven: Preheat your oven to 350°F (175°C). Place the buns on a baking sheet and heat for about 10-15 minutes until warm.
- Microwave: Place one bun on a microwave-safe plate. Heat for about 15-20 seconds or until warm.
- Stovetop: In a skillet over low heat, warm each bun for about 5 minutes, flipping halfway through.
Frequently Asked Questions
Here are some common questions about making homemade honey buns.
What is the best way to achieve a soft texture in homemade honey buns?
To achieve a soft texture, ensure you properly knead your dough and let it rise adequately. This helps develop gluten, giving your buns structure and fluffiness.
Can I use whole wheat flour instead of all-purpose flour?
Yes, you can substitute whole wheat flour; however, it may result in denser buns. Consider using half whole wheat and half all-purpose flour for better results.
How do I know when my honey buns are done frying?
Your honey buns should be golden brown on both sides when done frying. You can also insert a toothpick; if it comes out clean, they are ready!
Are there any variations I can try with this homemade honey bun recipe?
Absolutely! You can add chocolate chips, dried fruits, or nuts into the dough for different flavors. Experimenting with spices like nutmeg or cardamom can also enhance taste.
How long do homemade honey buns last?
When stored correctly, homemade honey buns last up to 3 days at room temperature or up to 3 months in the freezer.
Can I make these homemade honey buns ahead of time?
Yes, you can prepare the dough ahead of time, let it rise, shape it into buns, then refrigerate overnight before frying them fresh.
Final Thoughts
These homemade honey buns are not just a delightful treat; they evoke nostalgia with their sweet glaze and fluffy texture. They are versatile enough for breakfast or dessert and allow room for creativity with various fillings and toppings. Give this recipe a try and enjoy customizing your own batch of deliciousness!
Homemade Honey Buns
Enjoy delightful Homemade Honey Buns with a sweet glaze! Try this easy recipe today and savor every bite of these fluffy treats.
- Prep Time: 15 minutes
- Cook Time: 20 minutes
- Total Time: 35 minutes
- Yield: Makes approximately 14 servings 1x
- Category: Dessert
- Method: Frying
- Cuisine: American
Ingredients
- 2¼ cups all-purpose flour
- ¼ cup sugar
- ½ tsp salt
- ⅔ cup whole milk
- 1 packet instant yeast
- ⅓ cup melted butter (cooled)
- 1 large egg
- 2 tsp vanilla extract
- 3 tbsp melted butter (for glaze)
- 1¼ cup sifted powdered sugar
- 2 tbsp milk (for glaze)
- 2 tsp honey
- ½ tsp vanilla extract (for glaze)
Instructions
- In a mixing bowl, combine flour, sugar, and salt.
- Warm milk until lukewarm and mix in yeast; let sit until frothy.
- Combine yeast mixture with dry ingredients along with melted butter, egg, and vanilla; stir until mixed.
- Knead the dough on a floured surface for 5-7 minutes until smooth; let rise in an oiled bowl covered with a towel for about an hour.
- Roll out dough into a rectangle; brush with melted butter and sprinkle with cinnamon. Roll tightly into a log and cut into equal pieces.
- Fry the buns in hot vegetable oil until golden brown on both sides.
- Prepare glaze by whisking together the ingredients until smooth; drizzle over warm buns before serving.
Nutrition
- Serving Size: 1 serving
- Calories: 180
- Sugar: 8g
- Sodium: 75mg
- Fat: 8g
- Saturated Fat: 4g
- Unsaturated Fat: 4g
- Trans Fat: 0g
- Carbohydrates: 24g
- Fiber: 1g
- Protein: 3g
- Cholesterol: 20mg